Setup
John Blischak
2020-06-11
Last updated: 2020-07-02
Checks: 2 0
Knit directory: workflowr-useR2020/
This reproducible R Markdown analysis was created with workflowr (version 1.6.2.9000). The Checks tab describes the reproducibility checks that were applied when the results were created. The Past versions tab lists the development history.
Great! Since the R Markdown file has been committed to the Git repository, you know the exact version of the code that produced these results.
Great! You are using Git for version control. Tracking code development and connecting the code version to the results is critical for reproducibility.
The results in this page were generated with repository version 6896c7a. See the Past versions tab to see a history of the changes made to the R Markdown and HTML files.
Note that you need to be careful to ensure that all relevant files for the analysis have been committed to Git prior to generating the results (you can use wflow_publish or wflow_git_commit). workflowr only checks the R Markdown file, but you know if there are other scripts or data files that it depends on. Below is the status of the Git repository when the results were generated:
Ignored files:
    Ignored:    .Rhistory
    Ignored:    .Rproj.user/
Note that any generated files, e.g. HTML, png, CSS, etc., are not included in this status report because it is ok for generated content to have uncommitted changes.
These are the previous versions of the repository in which changes were made to the R Markdown (analysis/setup.Rmd) and HTML (docs/setup.html) files. If you’ve configured a remote Git repository (see ?wflow_git_remote), click on the hyperlinks in the table below to view the files as they were in that past version.
| File | Version | Author | Date | Message |
|---|---|---|---|---|
| Rmd | 6896c7a | John Blischak | 2020-07-02 | Some updates to tutorial steps. |
| html | 7c12cad | John Blischak | 2020-07-01 | Build site. |
| Rmd | e3f11b9 | John Blischak | 2020-07-01 | Add link to workflowr-uchicago-spotify. |
| html | f2e1543 | John Blischak | 2020-06-29 | Build site. |
| html | 759ea05 | John Blischak | 2020-06-12 | Build site. |
| Rmd | d9bc322 | John Blischak | 2020-06-11 | Add setup instructions. |
Completing the tutorial requires two online services:
- GitHub - Website for storing and sharing code in Git repositories
- RStudio Cloud - Cloud version of RStudio IDE in which you can create and share data science projects
Prior to the tutorial, please create an account on both GitHub and RStudio Cloud.
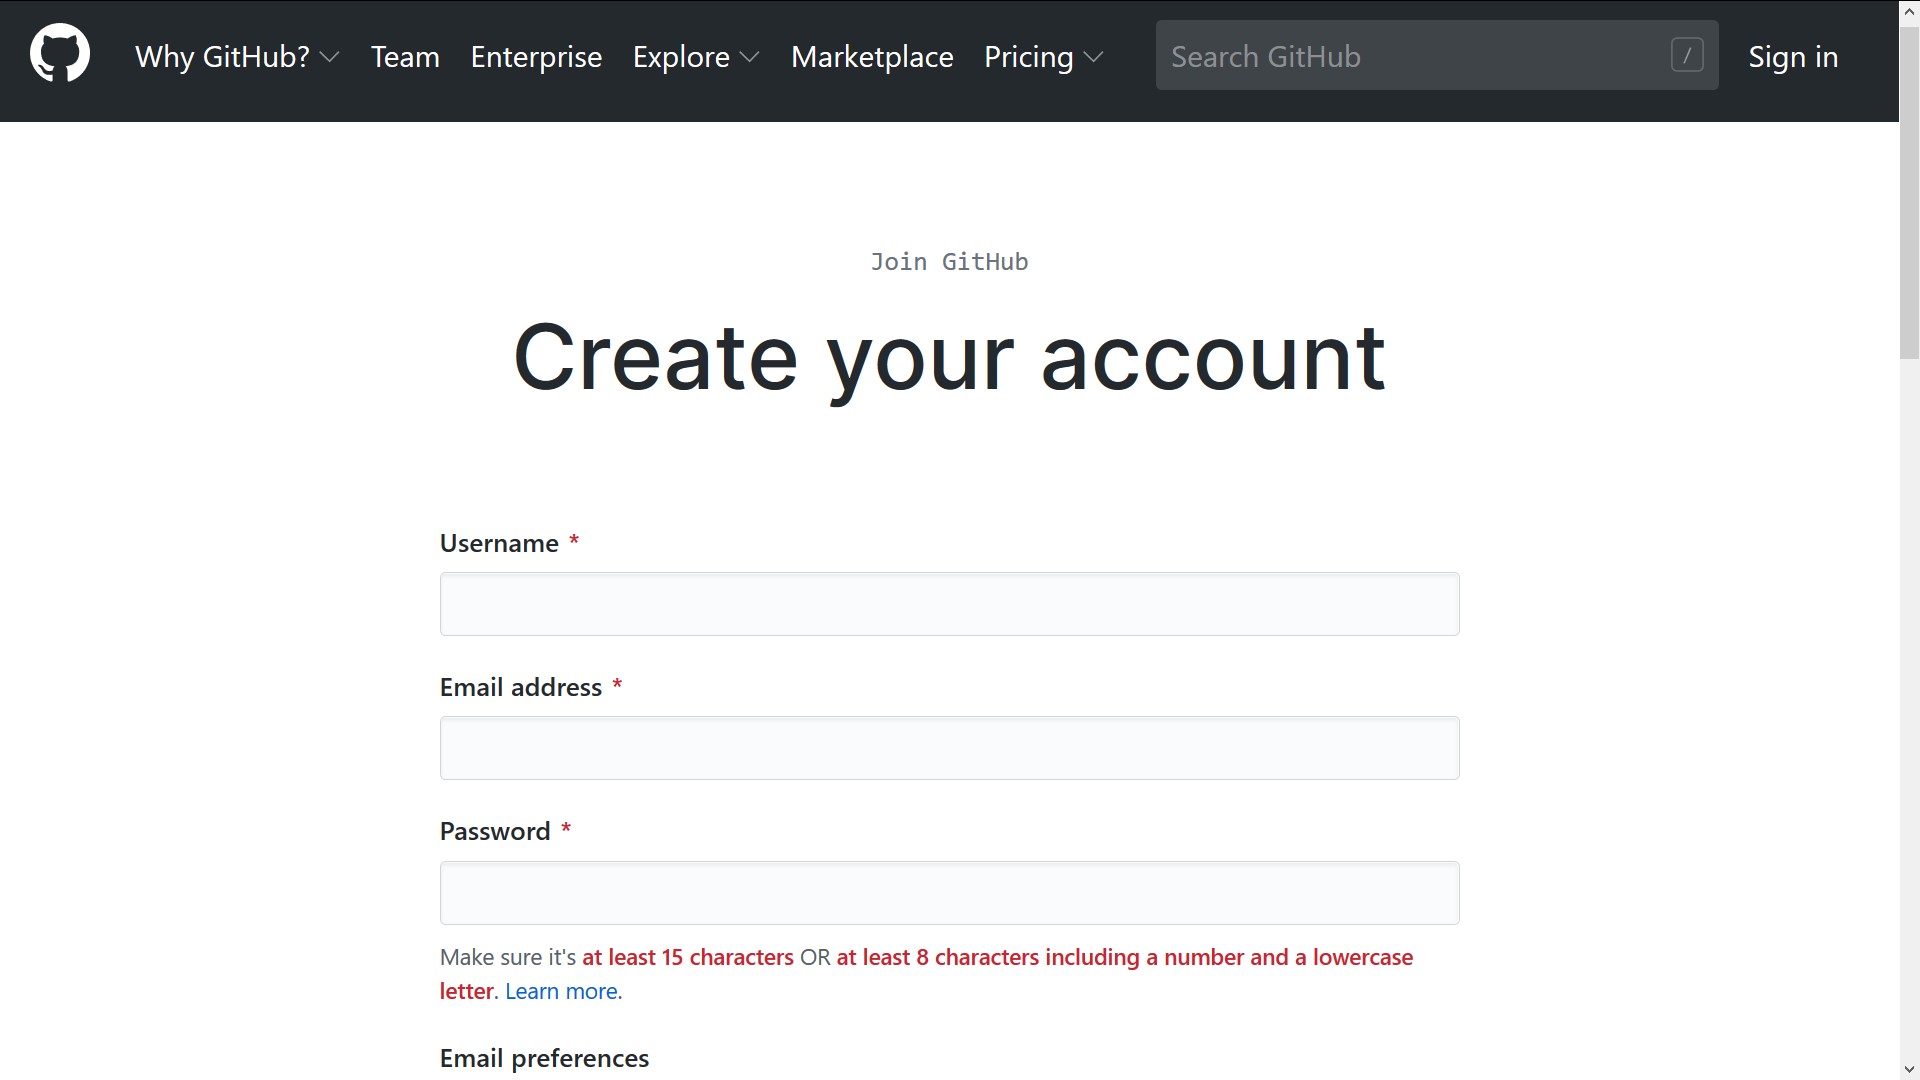
Create an account on GitHub
To create a new account on GitHub, go to https://github.com/join/. The only requirement is a valid email address. The standard “Free” account is sufficient for the tutorial. For more details, see the GitHub Help article Signing up for a new GitHub account.
Create an account on RStudio Cloud
To create an account on RStudio Cloud, go to https://login.rstudio.cloud/register/. You can either create a new username and password, or you can use your Google or GitHub credentials. I recommend using your GitHub account for authentication on RStudio Cloud. The standard “Free” plan is sufficient for this tutorial.
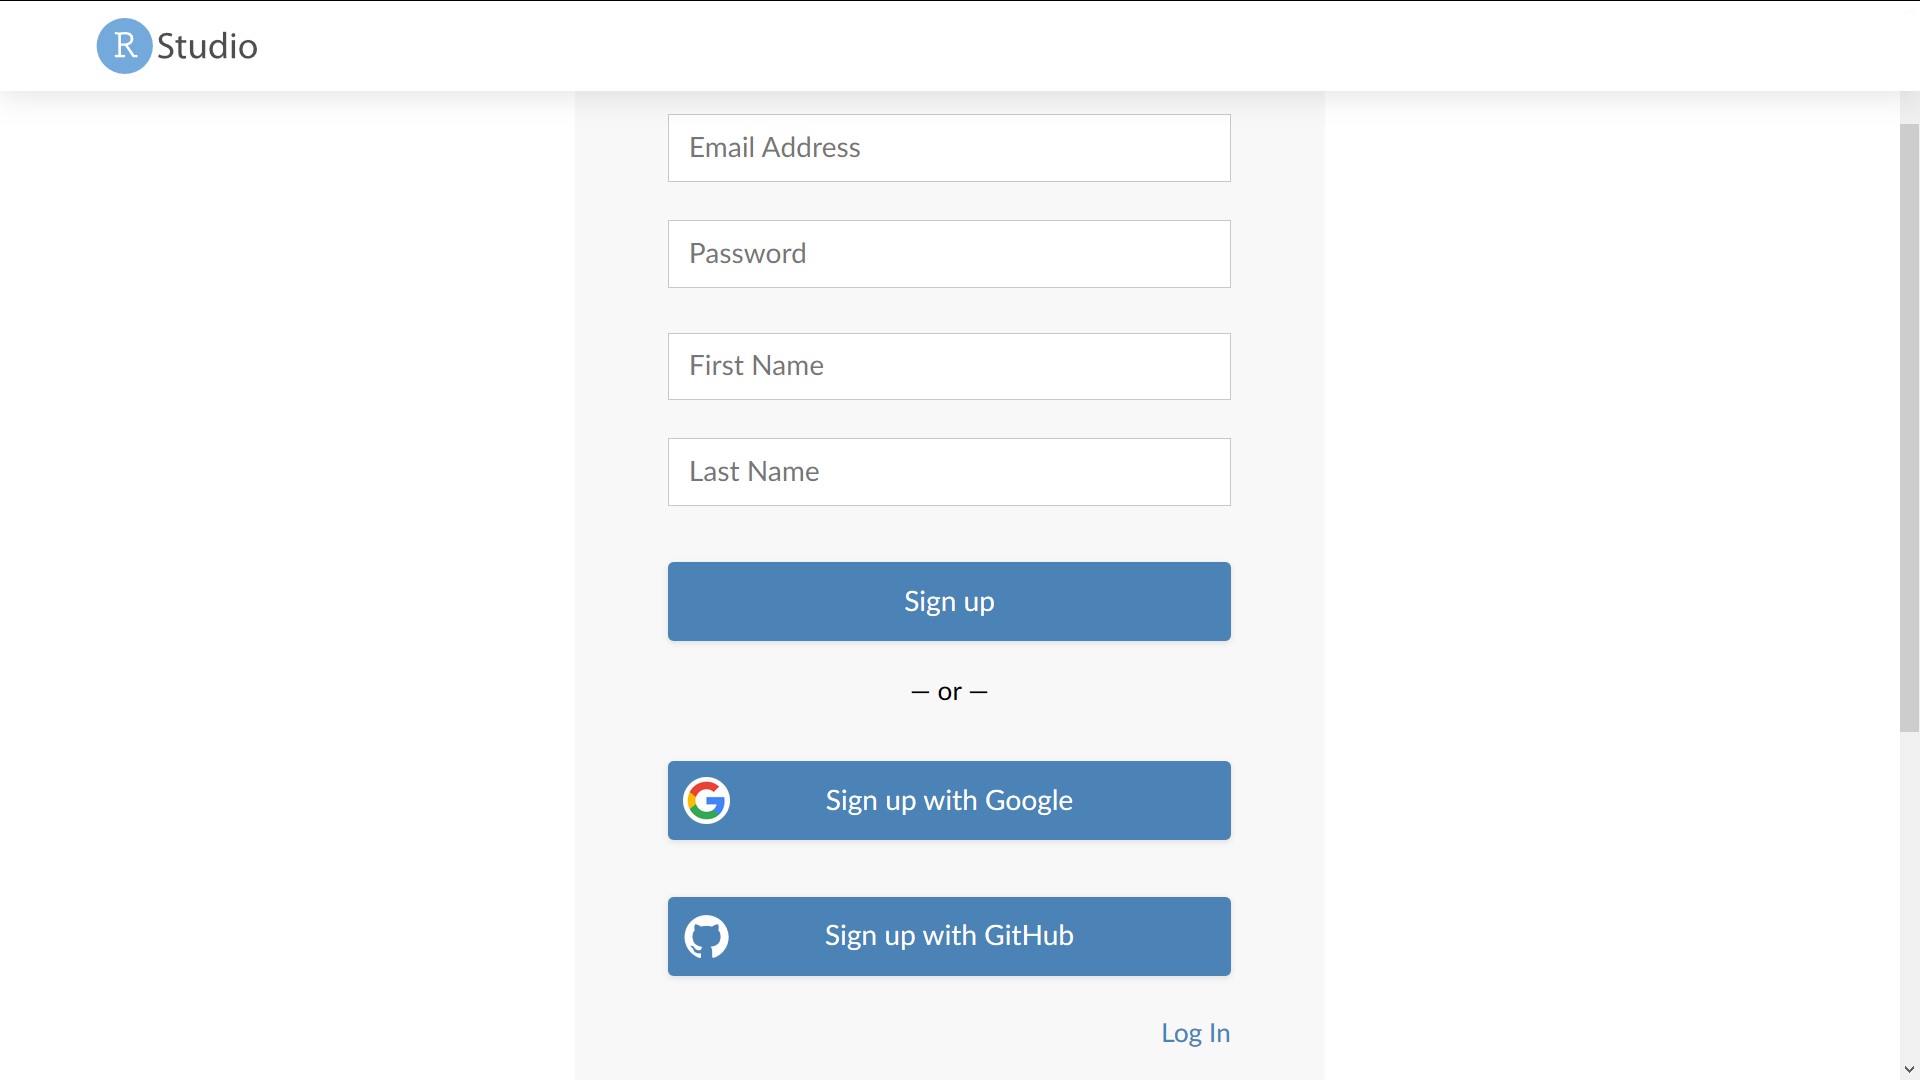
If you do use an email address to create your account, you will need to verify your email address by clicking on the link in the email sent by RStudio Cloud.
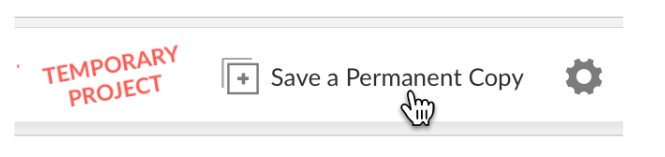
Create your own copy of the tutorial project
To minimize any potential technical difficulties, I have created a project on RStudio Cloud that contains the tutorial files and has all the necessary packages already installed. To get started, go to https://rstudio.cloud/project/1429887. This will automatically create a copy of the project in your user workspace. Make sure to click the button “Save a Permanent Copy”, otherwise your copy of the project will be deleted afterwards.